|
10% off for new Department 56 Village building customers!
Use code "D56-2017" for your 10% off for orders totaling $170 or more. Offer good for first 100 orders before October 31, 2017.
What tools and products do you need to create a Department 56 Village?
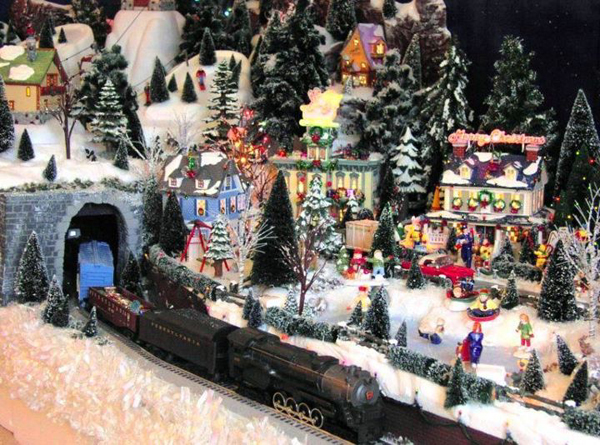
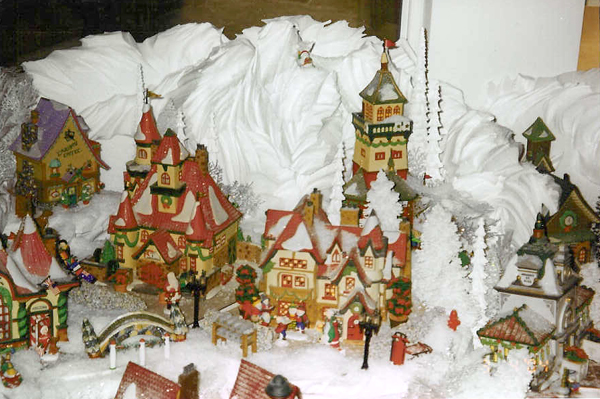
Of course, you start with your Department 56 pieces! Lay out your village on your work table to determine your ideas for arrangment. Will you have hills? Mountains? Streets? Tunnels?
For ideas of how to create an attractive arrangement, take a look at various displays that have been created by others and submitted to our Gallery pages. All of the pictures used on this page were borrowed from the Gallery. Need help figuring out the procedures for building a village? Take a look at this tutorial video in the D56 gallery.
Now you will need to purchase your supplies: below we outline the basic steps you will follow to create your village and provide links to the suggested products. Click on the "add to cart" button  for each product you want to purchase, and then go the shopping cart (upper right corner of the page) to check out. for each product you want to purchase, and then go the shopping cart (upper right corner of the page) to check out.
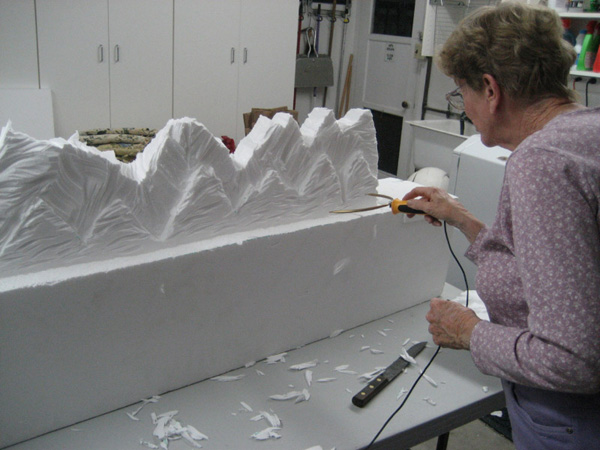
| 1. You will need a set of tools. For carving mountains and hills, you want the Sculpting tool; for engraving bricks, rocks and other details you want the Engraving tool; for creating stairs and gullies, the Freehand Router; and for creating train tunnels, walls and other features, the Hot Knife. If you don't have any of these tools yet, purchase the 4-in-1 Pro Kit as it has all these tools and a variable power supply. Specify the Variable Power Supply and the 6-inch Hot Knife.
|
Quick View
$249.65 $179.95
|
 |
| 2. Glues. The glues we recommend are Foam Fusion (non-toxic, easy to use, easy to clean up) for gluing your base layers together and for attaching hills, mountains and backdrops. It takes 24 hours to dry, so you will hold your foam together with toothpicks or skewers. If you want to also be able to quickly glue something together and have it immediately stick, also get some of the very tacky Styrogoo. Warning: many other glues you already have will NOT work with EPS foam. Our glues are specially formulated so they will cut with hot knives. Many glues run the risk of never drying (due to lack of access to air) or will chemically react to the ingredients in the foam, eventually eating holes in your creation. |
|
|
 |
|
 |
| 3. Other items. You should get the Sculpting Tool Wire Tensioner--this was developed because some of our artists find it difficult to keep the wire tight while cutting. Also, the Bounce Rubberizer is a popular coating for D56 displays as it can be used for gluing on glitter.
|
|
|
|
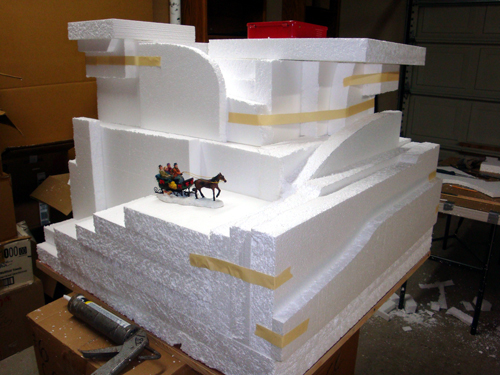
| 4. EPS Foam. For the Village base, 2 inch foam pieces large enough to cover the area you are building--typically, the size of the table you are using for the display. You will want additional sheets to "stack" to make the hills and mountains. For a 14 inch by 22 inch display, you will probably want 4 sheets.
If you are not sure what you need yet, we recommend you start with a Foam Variety Pack as you will get enough sheets of foam of various thicknesses to create your first Village scene. Note: shipping costs for foam are high, so if you have access to a building supply store nearby then you can purchase EPS insulation foam directly and save shipping costs. Alternately, you can often find free large sheets of foam from big box stores that use it for packing fridges, stoves, etc.
|
|
|
 |
|


