
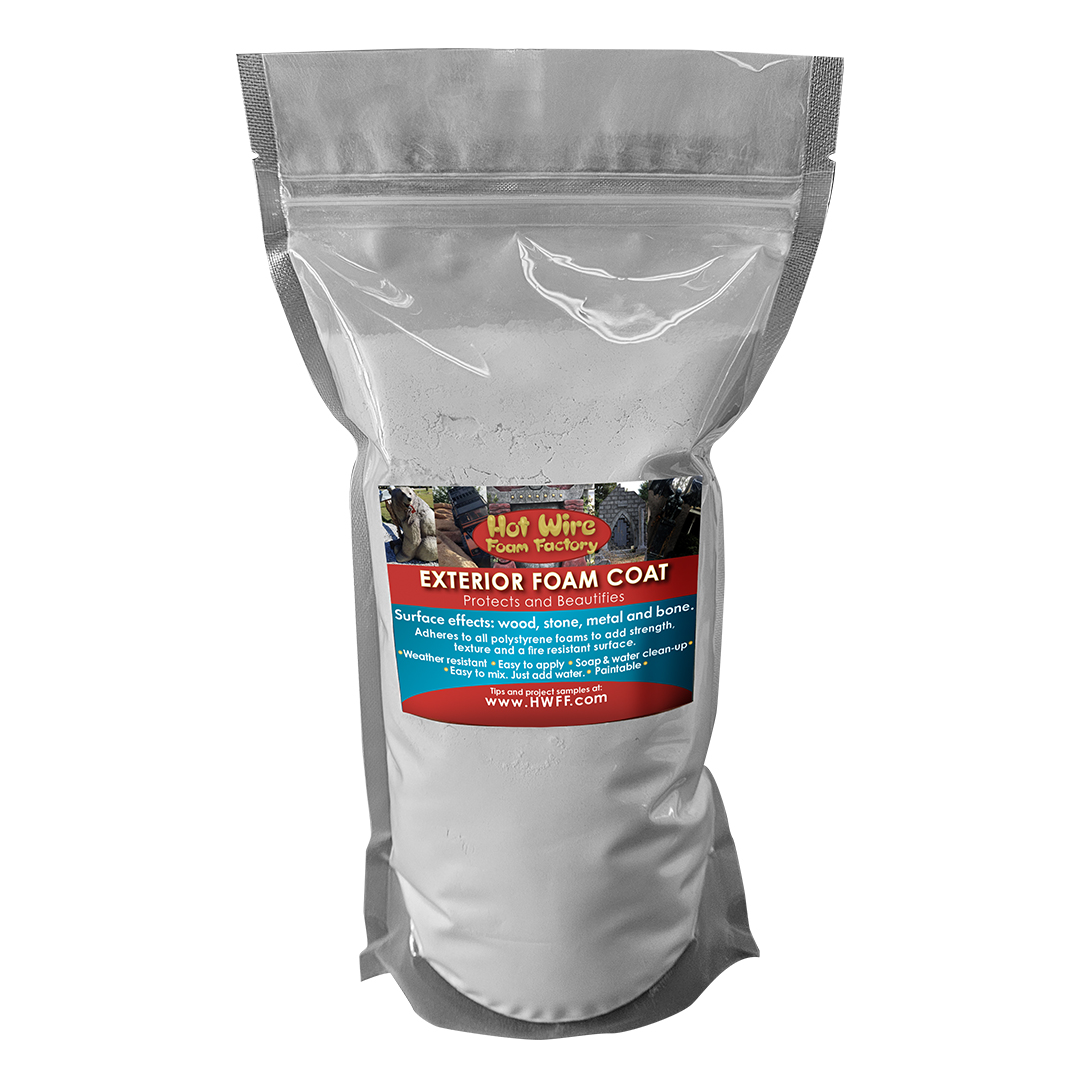
Exterior Foam CoatRugged Protection for Foam Sculptures!Exterior Foam CoatRugged Protection for Foam Sculptures!Bring your projects to life. Easy to use—just mix with water. Performance that lasts. For a comparison of Foam Coats, click here. To see foam projects made using this product, click here. Includes:
Features:
Instructions:Download the instruction manual here. Coverage
MixingSettling may occur in shipping causing a gritty texture that does not stick well. Remix if there is separation in dry mixture. Remove or break up any clumps. Use when temperatures are between 40°F (4°C) and 100°F (38°C). Mix in a clean container with clean water. Use 1 part cool water per 3 parts of powder (e.g., 1 cup of water per 3 cups of powder). Add water to powder and mix until Foam Coat turns into a smooth paste. Adjust powder or water for desired consistency. A drier mix is stronger; a wetter mix is stronger if using Boost. Do not overmix. You can add powdered or water-based cement pigments while mixing. Mixing Chart (Makes slightly dry mix)
ApplyingIf using extruded foam (Blueboard or Pinkboard), roughen the surface with coarse sandpaper. Fill large cracks and holes with pasty mixture using a trowel. You may add more water to thin the mixture for brushing, but thinning weakens the coating. Can be applied with a standard spray hopper. Application time is ~40 minutes depending on temperature and humidity; working time up to 3 hours. Apply at least 1/4" (6mm) thick for best strength. Multiple coats may be applied. Texture surfaces before coating sets. Cure TimeReaches 80% of strength in 12–24 hours depending on temperature and humidity. Fully cures in 3–5 days. Lightly fogging the surface on and off for 24 hours increases strength. FinishingRemove dust before painting or staining. This product goes on rough and is not sandable. Finish as the surface sets up. Clean-UpClean tools and brushes with soapy water before coating hardens. If Boost is added, clean immediately or residue cannot be removed. WarningAvoid prolonged skin contact. Wear dust, skin, and eye protection. Use an approved respirator when sanding. In case of eye contact, flush immediately with water and consult a physician. Wash hands before eating. Keep out of reach of children.
More Info:Compressive Strength
ASTM C109: Flexural Strength
ASTM C348: Fire Data
Flammability: Noncombustible and not explosive WarrantyHWFF Inc./dba Hot Wire Foam Factory warrants this product to be of merchantable quality when used according to instructions. Liability is limited to replacement or refund of defective product. Notice must be given in writing. MSDS available. ⚠️ California Proposition 65 WarningThis product contains crystalline silica, a chemical known to the State of California to cause cancer, birth defects, and reproductive harm. Use a dust mask or respirator (RPE 20 or 40) while mixing. More info: www.P65Warnings.ca.gov or California Proposition 65.
Videos:
|
Is Foam Coat Fire Safe?
Our Foam Coats can be used inside. Not only are they fire-safe, but they also inhibit fires!
Fireproofing chemicals similar to those used on theater curtains have been sprayed on finished projects by several artists. In a normal room, this should satisfy the fire marshal. Fireproofing paints are also available.
Foam walls are commonly viewed as structural by fire marshals. A non-structural wall should receive the same fire rating as a curtain or piece of furniture. Fire ratings for structural walls are much stricter. Collapse occurs when a structural wall fails. In addition, internal walls are built to prevent fire spread.
Is Foam Coat Paintable?
Our Foam Coats can be painted. Once coated you can use almost any kind of paint. Make sure no foam is exposed, as some solvents found in some paints can dissolve it.
You can substitute up to 50% latex paint for water when mixing All Purpose Foam Coat. This will slow the drying time. You can mix water-based concrete pigments with Exterior and All Purpose Foam Coat. Then, if the foam coat chips it will be less noticeable.
Acrylic paints will mix fairly well with base foam coats, but when you add any additives like Bounce it doesn't take well.
Stainfast can be mixed with water based pigments and applied to Create Coat and Exterior Foam Coat to create a stone look. Stainfast also acts as a sealer.
How do I get the Foam Coat smooth?
If you tap on the Foam Coated object, the Foam Coat will momentarily liquify to smooth out the brush lines and other imperfections. You can also smooth it while it's setting with a metal trowel or putty knife.
Smooth Coat is smoother than Exterior or All Purpose Foam Coat and can be added as a last smoothing layer.
Use the little yellow 1-gallon paint spouts for troweling curved surfaces. They can be easily shaped for smoothing foam coat where you have contours. Also, the big yellow sponges that tile setters use help even out the coating and make it somewhat smooth.
How do I keep my Foam Coat from chipping?
For a much stronger coating use Mesh with any of our foam coats. Styroplast is the strongest and most chip-resistant coating we have. Adding Bounce to All Purpose Foam Coat makes it chip-resistant.
Although it helps to moisten the foam before applying, make sure the foam is not getting too wet. If it is cracking or chipping, you can apply a thicker coat, or try a 2nd layer with Boost or Bounce.
How much Foam Coat do I need?
With a 5lb jar, applying the foam coat 1/64"" thick will give you about 60 square feet of coverage. 1/16" thickness will give you 15 sq ft, and 1/4" will give you about 3.75 sq ft.
You can find a chart by clicking on the details section of either foam coats.
Is Foam Coat waterproof?
Smooth Coat and Exterior Foam Coat offer both weather and fire resistance. Many aquarium owners have had great results when using these in their tanks. Click below to see some examples.
We offer a foam-coat/stain system that is aquarium safe and will produce a beautiful natural stone or reef look. Exterior Foam Coat is applied over the foam shape. The coating is then sealed with StainFast, which is also a base for water-base stains. If you want more saturated colors, apply a thin coat of Create Coat over the Exterior Foam Coat, and apply the StainFast to that.
Can I add a second coat?
Adding a second coat of the foam coat is fine as long as the first coat has dried and adhered.
It is common to put on a first thin coat as a scratch coat which allows the second coat to adhere better. We actually recommend applying a scratch coat with Boost added to it when you coat XPS foam.
How do I apply Foam Coat?
Fill big cracks and holes by applying a pasty mixture with a trowel. If using extruded foam (ie Blueboard or Pinkboard) roughen the surface with coarse sandpaper. Apply with a paintbrush, stucco brush, trowel, or hopper gun.
- Use a thinned mixture to texture large areas.
- For best strength apply at least 1/4” (6mm) thick.
- Multiple coats may be applied.
- Brushing or spraying a thin first coat, called a scratch coat, will make the next coat much easier to apply.
- Try texturing surface as the coating sets.
Can I mix the foam coatings together?
We do not recommend mixing our foam coats together. Each has its own characteristics. The different ingredients might react with each other. We do have two fortifiers, Boost and Bounce, that can be mixed with our powdered foam coats. Bounce can only be mixed with All Purpose Foam Coat.
Do you ship Foam Coat internationally?
We can ship foam coat internationally. Although we do not offer any promotional shipping options on the 50lbs outside of the US due to high freight costs, rates are available on the checkout page.


 Exterior Foam Coat #026ECO - Bulk 25lbs")


 All Purpose Foam Coat #025ECO - Bulk 25lbs")


 All Purpose Foam Coat #025ECO - Bulk 25lbs")